 Animal Rigger Pro
Quick start
Your first rig, from a bare mesh to posing it, in six short steps.
This walks through one dog from start to finish. Each step has its own page with more detail.
Before you start: your animal should be one mesh, standing on all four feet, facing forward along the ground. Prepare your mesh says more.
Setup: start the animal
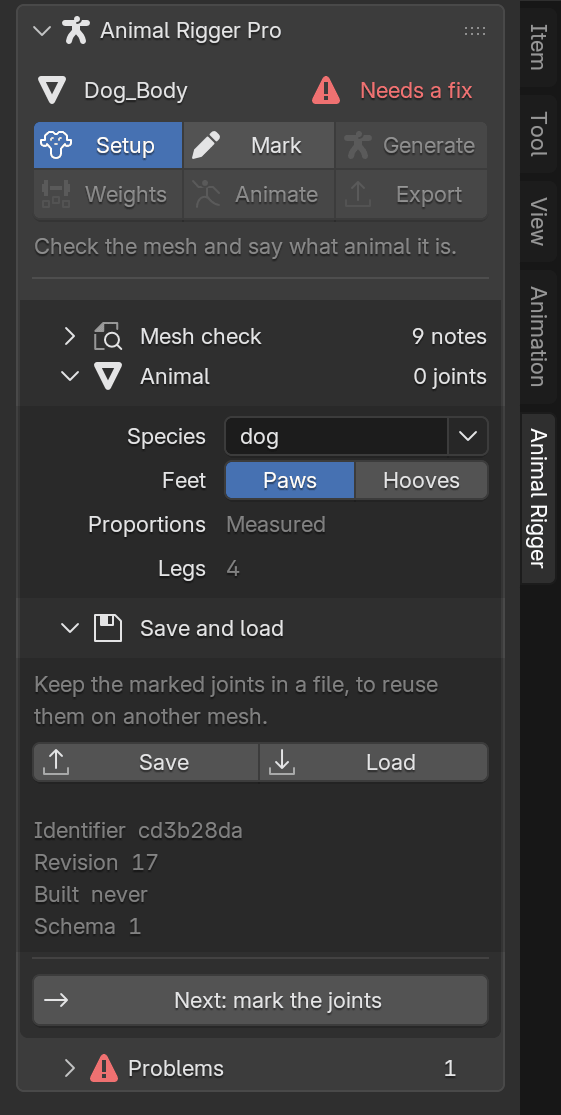
Select the animal's body. In the Animal Rigger tab, open Setup and press Check this mesh. Fix anything in red.
Press Start rigging this animal, then pick the Species. The feet follow the species: paws for a dog, hooves for a horse.
Mark: click the joints
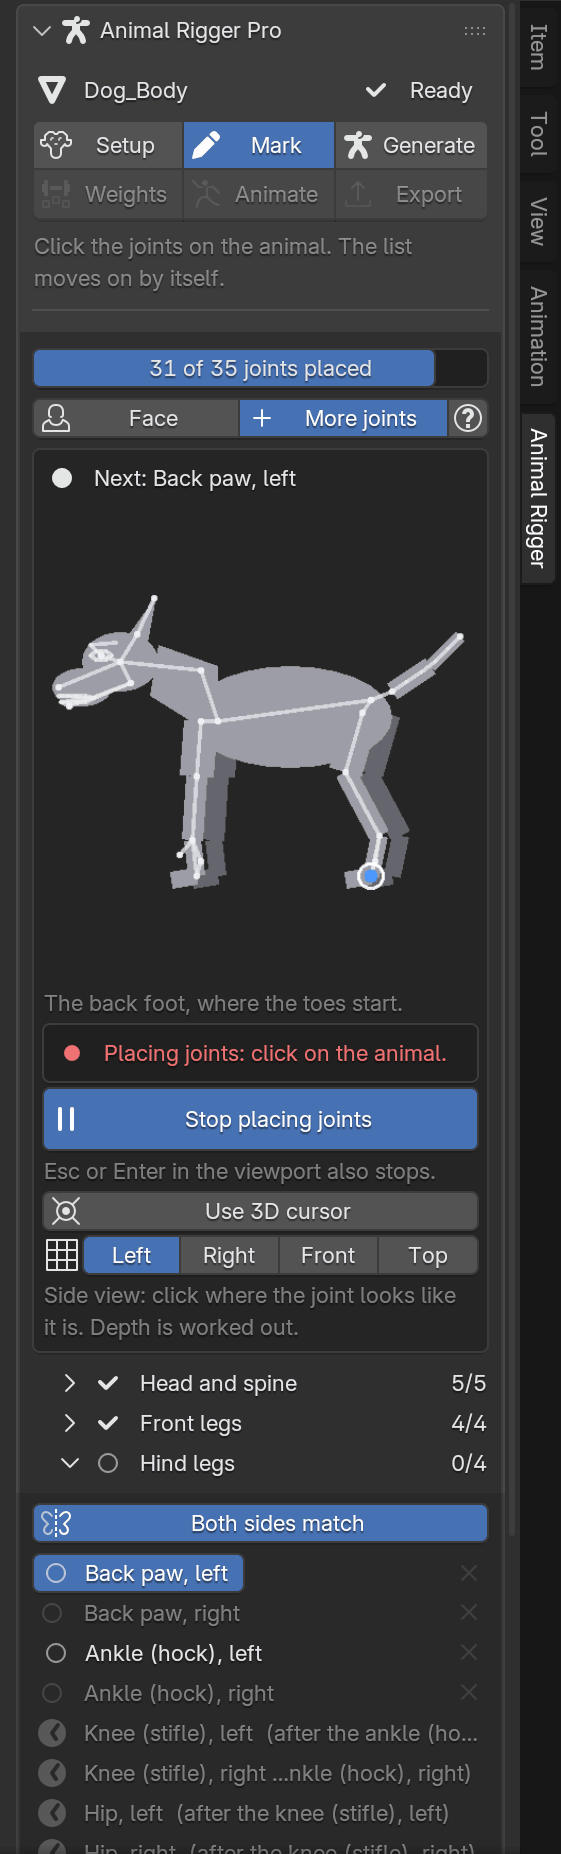
Open Mark. The top card says which joint is next and shows it lit on a small picture.
Press Left to look at the animal's left side. Press the big Click … on the animal button, then click each joint on the animal in the viewport. The list moves on by itself. You do not have to hit the mesh in a side view: click where the joint looks like it is and the add-on works out the depth.
Mark one side. The other side copies itself while Both sides match is on.
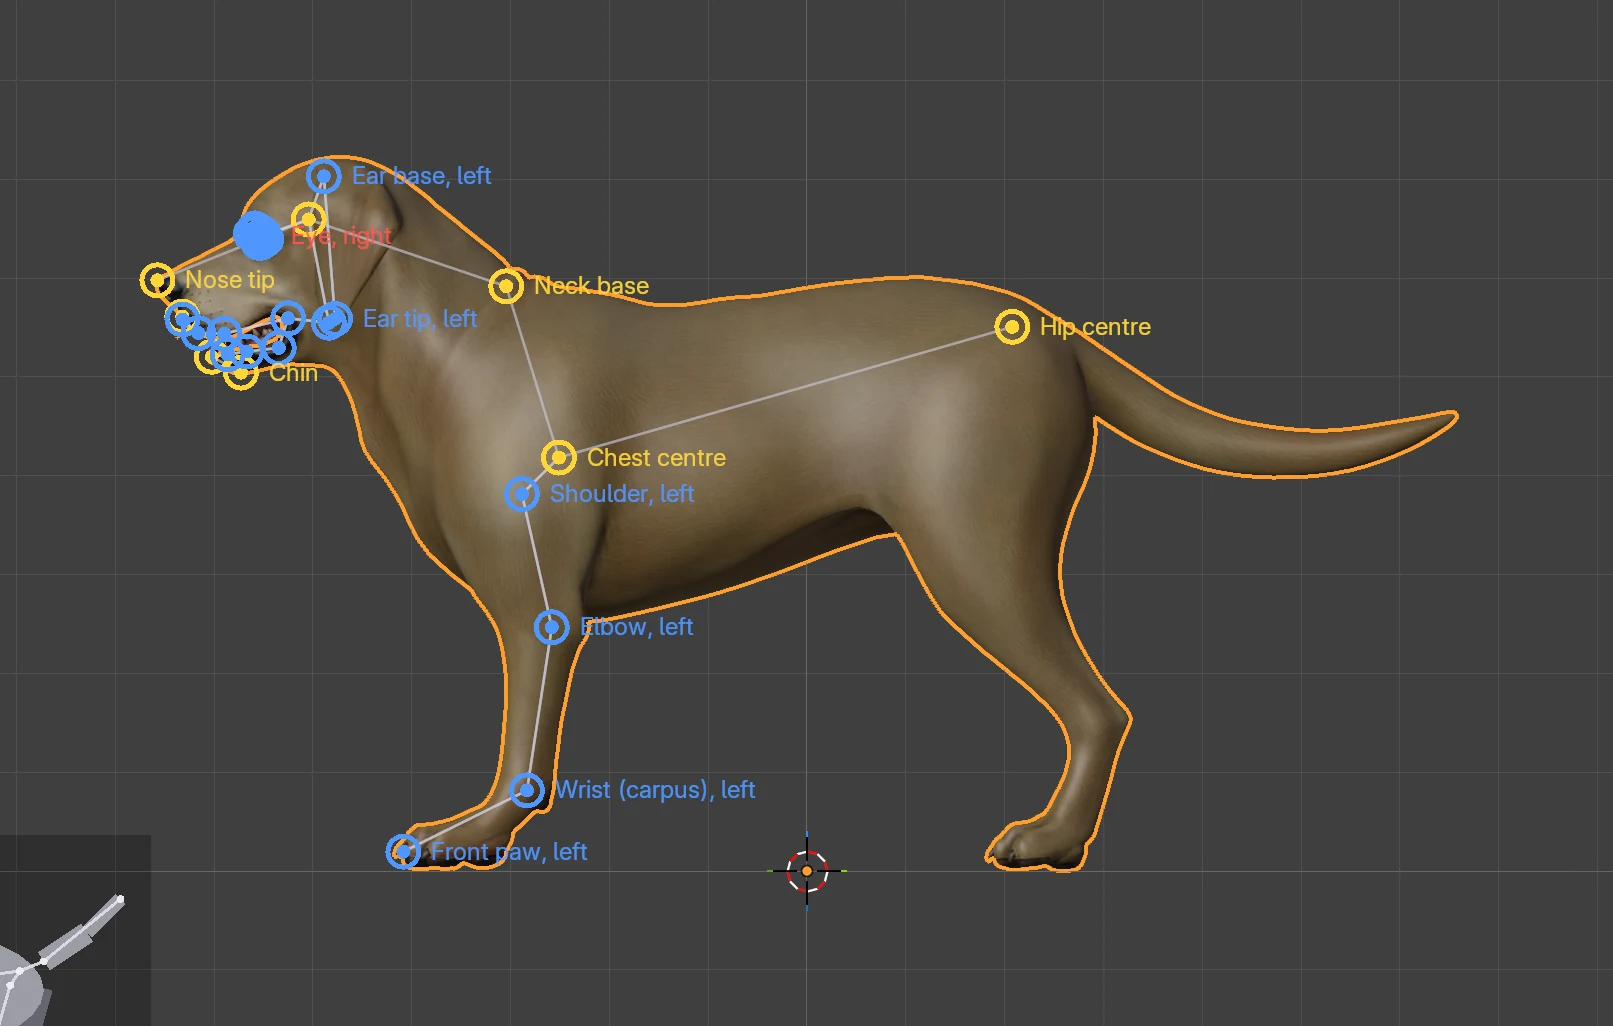
Mark both ends of a leg and press Guess the other leg joints to fill in the knee and ankle. Drag any dot to move it. Press Esc or Enter to stop clicking.
Generate: build the rig
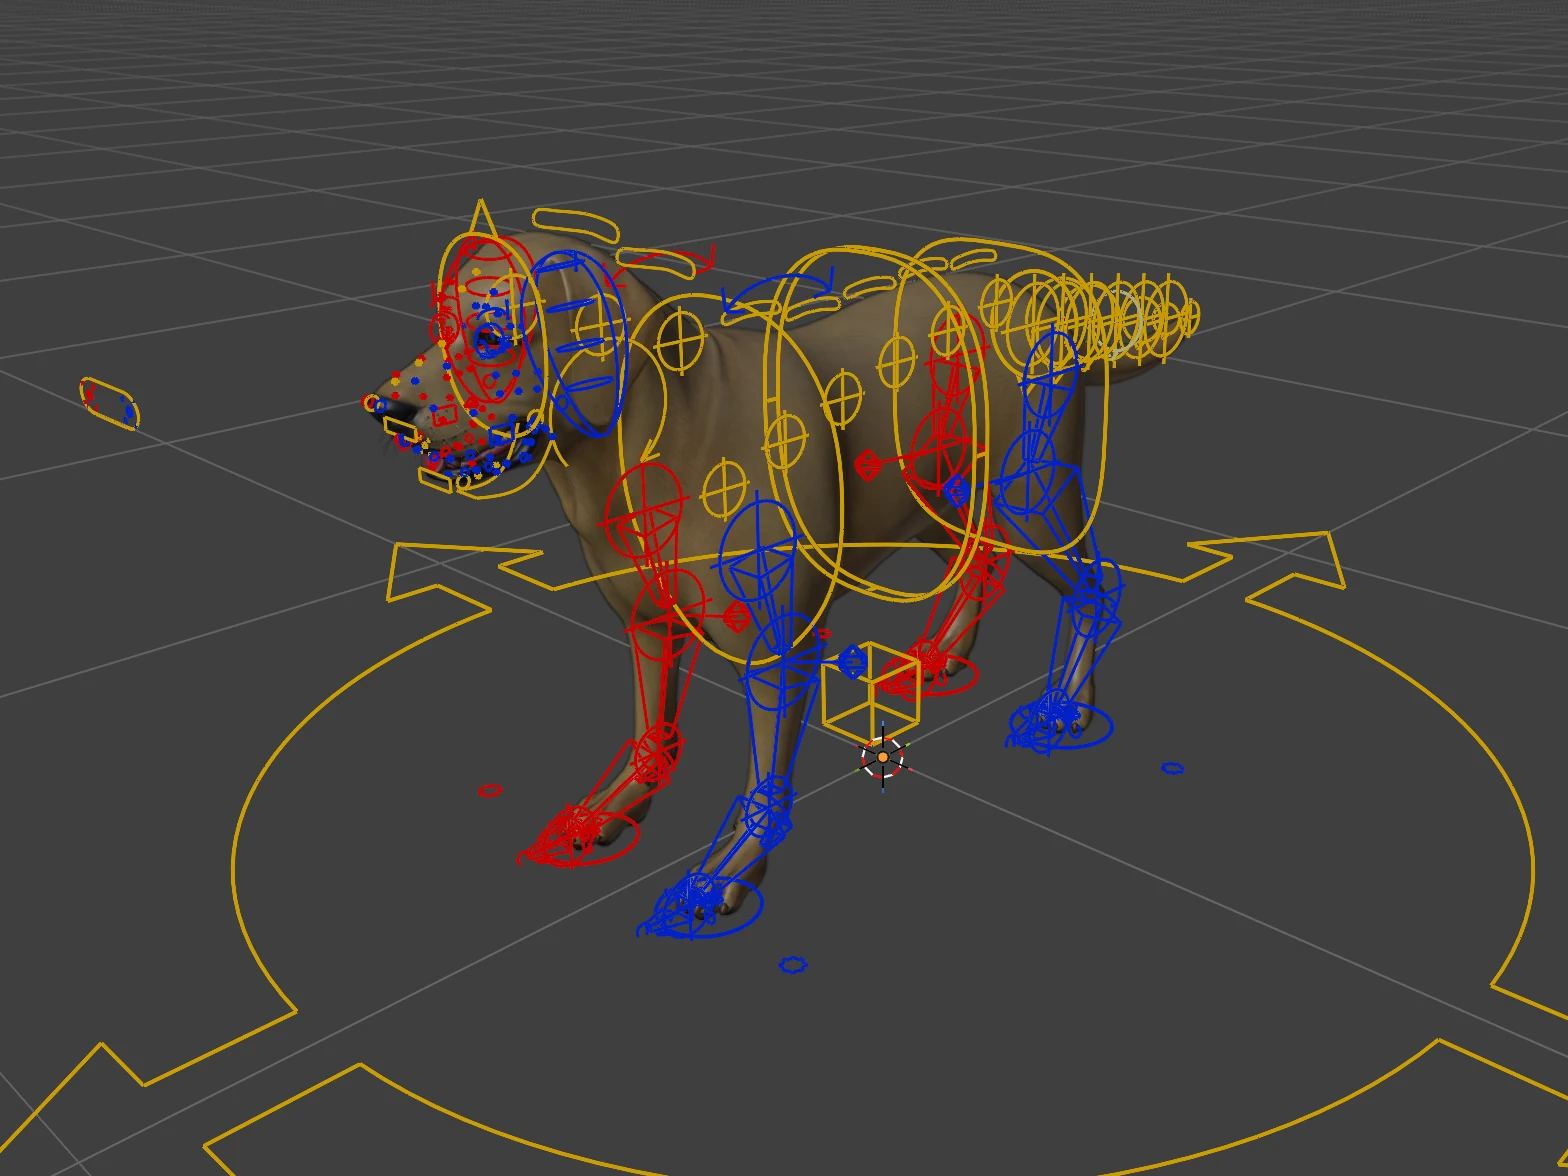
Open Generate. When the banner says Ready to build, press Generate rig. The rig is built and the skin is bound to it in a few seconds.
Weights: check the skin
Open Weights and press Start test poses. Scrub the timeline: the animal crouches, turns, reaches and opens its mouth. If the skin creases, see Weights. Often nothing needs fixing.
Animate: pose it
Open Animate. Pick a control in the viewport and move it. Switch any leg between IK and FK with its buttons; the pose stays put.
Export: send it to your engine
Open Export and press Export for Unreal, Unity or glTF.
That is a whole rig. Change a mark and press Rebuild rig at any time; your animation and painted weights are kept.